Wednesday, May 19, 2021

First Post of 2021

 So!  Here it is, more than a year after since my last post.  Oh my!  I certainly am lazy about keeping this blog current.  [sigh]


Last summer, I took a step out in faith and bought a cute little condo.  It is definitely small, but it is all I really need.  And I am quite comfortable.  My son helped me hang a ceiling fan recently - his comment was that I live in an art studio!  


Oh! Big news!  I did something I never thought I would do again - I signed up to be a Stampin Up! demonstrator.  It has been at least 10 years since I was with Stampin Up.  The sign up special for May was too good to pass up - since they are offering additional amount of product during the sign up special, I was able to purchase just about everything I wanted from the new catalog for the $99 cost. In a month or so, I'll order the rest of what I want from the catalog and get my demo discount!  That is a definite win for me.


Life has been good to me this past year. I was blessed that I was considered an essential worker during the covid pandemic. I did put on quite a bit of weight during that time, but I did manage to lose most of it since the beginning of this year.  Just a few more pounds to go and I'll be back to my pre-covid weight!  Gluten-free Keto diet and Weight Watchers is what helped me drop the weight.


More to come  so stay tuned ... I need to post some pics of cards that I made recently.

Tuesday, April 7, 2020

Yes, I'm Still Alive!

Oh my, time has a way of just slipping by!  I had a post started about an ugly page in my art journal, but never finished it!  Maybe at some point I'll get around to finishing the blog post, but that remains to be seen.

So for now, I'm just going to post pictures of a couple of cards that I have made this year.  I have completed a lot more than these, but I either did not take a photo of the card or I have already sent it to the intended recipient.

Without further ado:

This is the latest finished card.  I made it using a technique called "Adhesive Resist."  This is where you put matte medium through a stencil (instead of paint) onto cardstock, let the matte medium dry, then sponge color onto the background.  *Don't forget to clean your stencil right away!


This card was made using scraps and other miscellaneous diecuts from my stash.


More to come at a later date!

Thursday, December 26, 2019

Christmas Tree 2019

Now that Christmas 2019 is over and everyone has gotten their gifts, I can share a picture of my little tree. I made four of the red "97" ornaments in honor of my Dad; my mother and both of my brothers each got one. 97 is our race team number.

Wednesday, October 23, 2019

MMTPT587


This week’s Teapot Tuesday Challenge at Splitcoaststampers.com is to make a card with flowers to cheer up a lady in Bentonville AR who is waiting for a kidney transplant.

Here is my card:

When I went into the drawer where my white cardstock is stored, I found a scrap that was a leftover piece from a die cut.  I already knew which stamp set I wanted to use (Fun Stampers Journey Thistle), so I was very happy when I saw that it fit onto the scrap!   I colored the stamp with Tombow markers and used my MISTI to stamp it. That was a good decision because I had to at least three different colors of blue markers to get the mason jar to show up!

After I stamped the sentiment, I inked a Stampin Up embossing folder then laid the green cardstock down & ran it through my Spellbinders Platinum machine. I was very happy with the results! I finished putting the card together by popping up the white die cut onto the green piece, then gluing the front onto the A2 card base.

Friday, October 18, 2019

Card Shower Request


I belong to a Facebook group called Random Acts of Cardness where we send cards out when a request for a card shower is posted.  Yesterday, I saw a post for a veteran who has been hospitalized for several weeks and is need of a “pick me up.”  It was late when I saw the request so I didn’t have time to make a card, but I did find one in my stash to send.


I’ve had this card for quite a while, so I’m glad I finally found a reason to send it out. I remember some of the details, so I’ll post as much info as I can.

The airplane stamp is from Prickly Pear – I stamped it in black permanent ink on white cardstock. I used markers to color the image, then fussy cut it out.   I do not know the brand of the tree stamp, but it is similar to one of the stamps in Stampin’ Up’s retired set, Lovely as a Tree. I stamped the trees with Stazon ink onto glossy cardstock. After the ink dried, I sponged around the trees with blue ink to create the sky – this gave the illusion of clouds. I sponged green ink along the ground to create the landscape.

The card front is 5-1/4” x 4” and is layered onto a piece of black cardstock measuring 5-3/8” x 4-18”.  The size of the finished card is A2, 5-1/2” x 4-1/4”.

Monday, October 14, 2019

Featured Stamper Challenge at Splitcoaststampers.com, FS662

This week’s Featured Stamper at Splitcoaststampers.com is Diana Gibson. See her gallery HERE.  The idea of the Featured Stamper Challenge is to look at the featured stamper’s gallery and choose a card to CASE (Copy And Share Everything) but to change at least three things to make it your own.  I chose THIS CARD  
because it is very pretty and I have enough similar items to use.

Here is my version of Diana's card:

The focal image that I used is a smaller stamp than what Diana used on hers. I chose to make mine a birthday card and I used a multi-step stamp set for the butterflies.  The focal image is layered onto a scrap piece of designer paper from Graphic 45’s Flutter collection. I don’t have any colored cardstock that matches the sentiment ink, so I used that ink to color the edges of white cardstock. Doing so tied the card together. I then layered the card front onto an A2 sized Kraft card base.


Friday, October 11, 2019

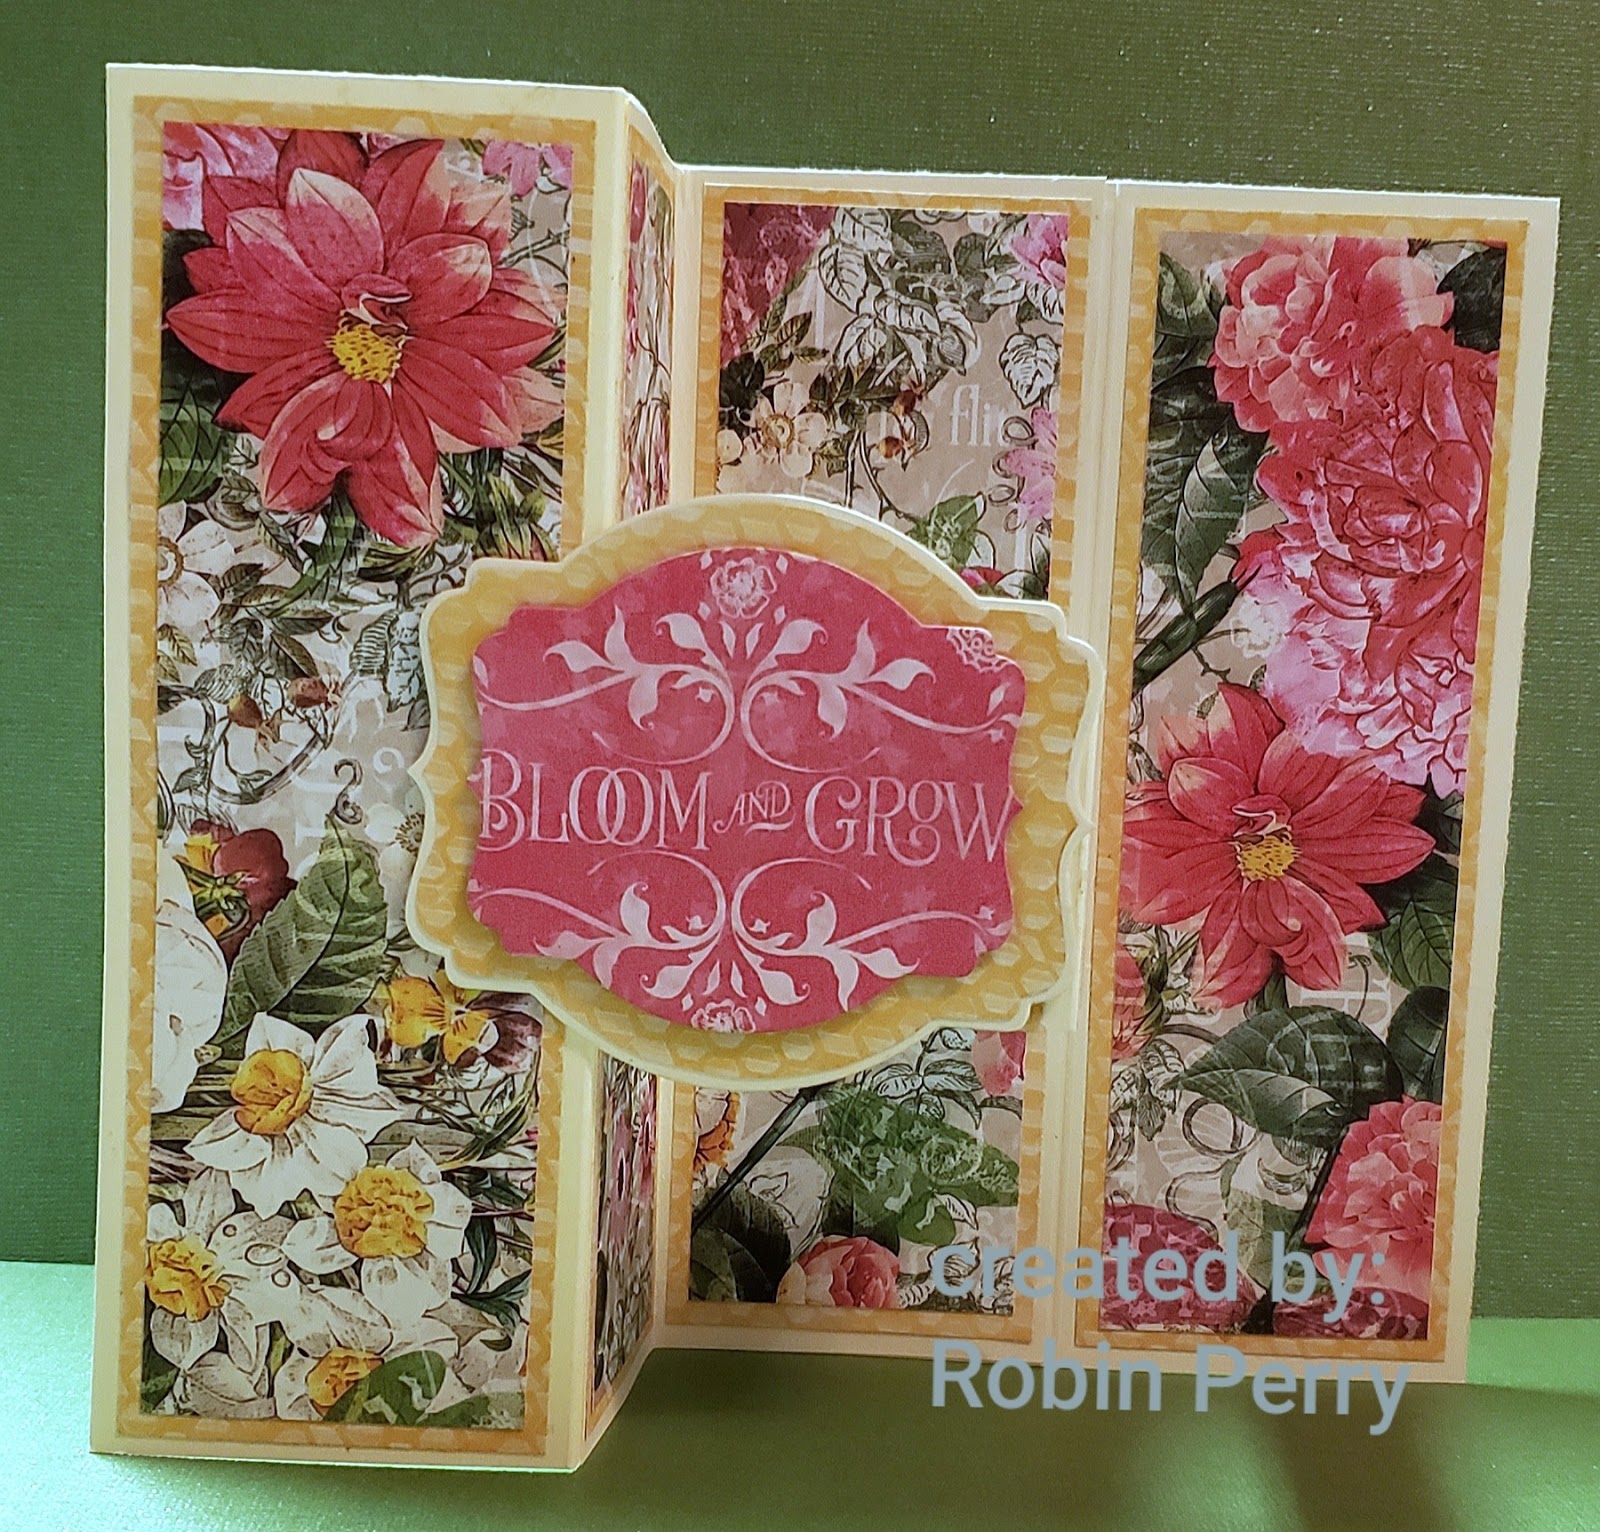
Inspired by a Card on Mixed Up Crafts - Z-Fold Pop Up Card


I saw a card on Mixed Up Crafts  and wanted to make one!   I changed mine up, though.


Instead of a Christmas card, I decided to use designer paper from Graphic 45’s Flutter collection.  I followed the instructions from Mixed Up Crafts for cutting & scoring the card base as well as cutting the larger panels.  But I didn’t like the open space left after making the slits horizontally across the two center sections. 

I cut a panel to fit underneath the slits, then scored it in half lengthwise. Since that panel was nearly the same size as the card base, I cut an additional set of the larger panels from the designer paper. I did not cut the smaller sections that the tutorial from Mixed Up crafts called for since they weren't necessary.  I also added a panel on the back side of the card to hide the seams and to give the card more stability.


I used a layering die set from Stampin’ Up to cut the accent piece on the front of the card. I only had two different sized dies and thought there was too much space between the two layers, so I cut another piece of designer paper with the larger die. I left it inside the die, then traced around the inner edge with a pencil. After that, I carefully trimmed away along the pencil line to make a slightly smaller die cut shape.

There is no stamping on this card as of now.  When I decide who is getting it & for what occasion, I’ll stamp a sentiment on the back panel.

Thursday, October 10, 2019

Not a Card I Wanted to make This Week


This is so not the kind of card I wanted to make this week.

Unfortunately, we had an unexpected death in our family earlier this week. And, of course, I didn’t have an appropriate sympathy card in my stash ready to go. Pinterest to the rescue for inspiration!

Here is the card that I made:


I inked one side of a Spellbinders double-sided embossing folder before laying down the designer paper & running it through my embossing machine to create the background texture.  The designer paper is retired and is from Stampin Up.  The sentiment was stamped with Stampin’ Up’s Basic Gray ink on a scrap of white cardstock, then run through my die cutter to cut out the shape.  

I laid a piece of lace across the front, then glued the sentiment on top. I layered the card front onto a slightly larger piece of designer paper  (the flip side of the green), then glued that onto my white 5”x 7” card base.

IMPORTANT - please read!
If you are struggling with thoughts of suicide, PLEASE!!!  Get help or reach out to someone, anyone! If you have no one to whom you can talk or confide in, please call the Suicide Prevention Line at 1-800-273-8255!  Suicide is never the answer. 

Friday, October 4, 2019

MMTPT584


It has been a while since I’ve participated in a Teapot Tuesday Challenge over at Splitcoaststampers.com, so I figured it was time to jump back in!  This week’s  challenge  is to make a masculine card for a gentleman in Lakeville MA.  He likes fishing, and antique cars & trucks.

Here is my card:


I used an Impression Obsession stamp that is, in my opinion, an artistic rendering of a grill from an antique roadster with just a hint of Steampunk. I have fallen in love with Stampin Up’s color, Blueberry Bushel, so I used that color ink and cardstock to make a monochromatic card.  I used Stampin Up’s Pinewood Planks 3D embossing folder for the background texture. I die cut the sentiment three times & stacked them together to add more dimension. I’m not sure if you can see it, but I used Glossy Accents on the headlight and grill emblems.  

Wednesday, August 14, 2019

Blast From the Past – Pocket Cards!


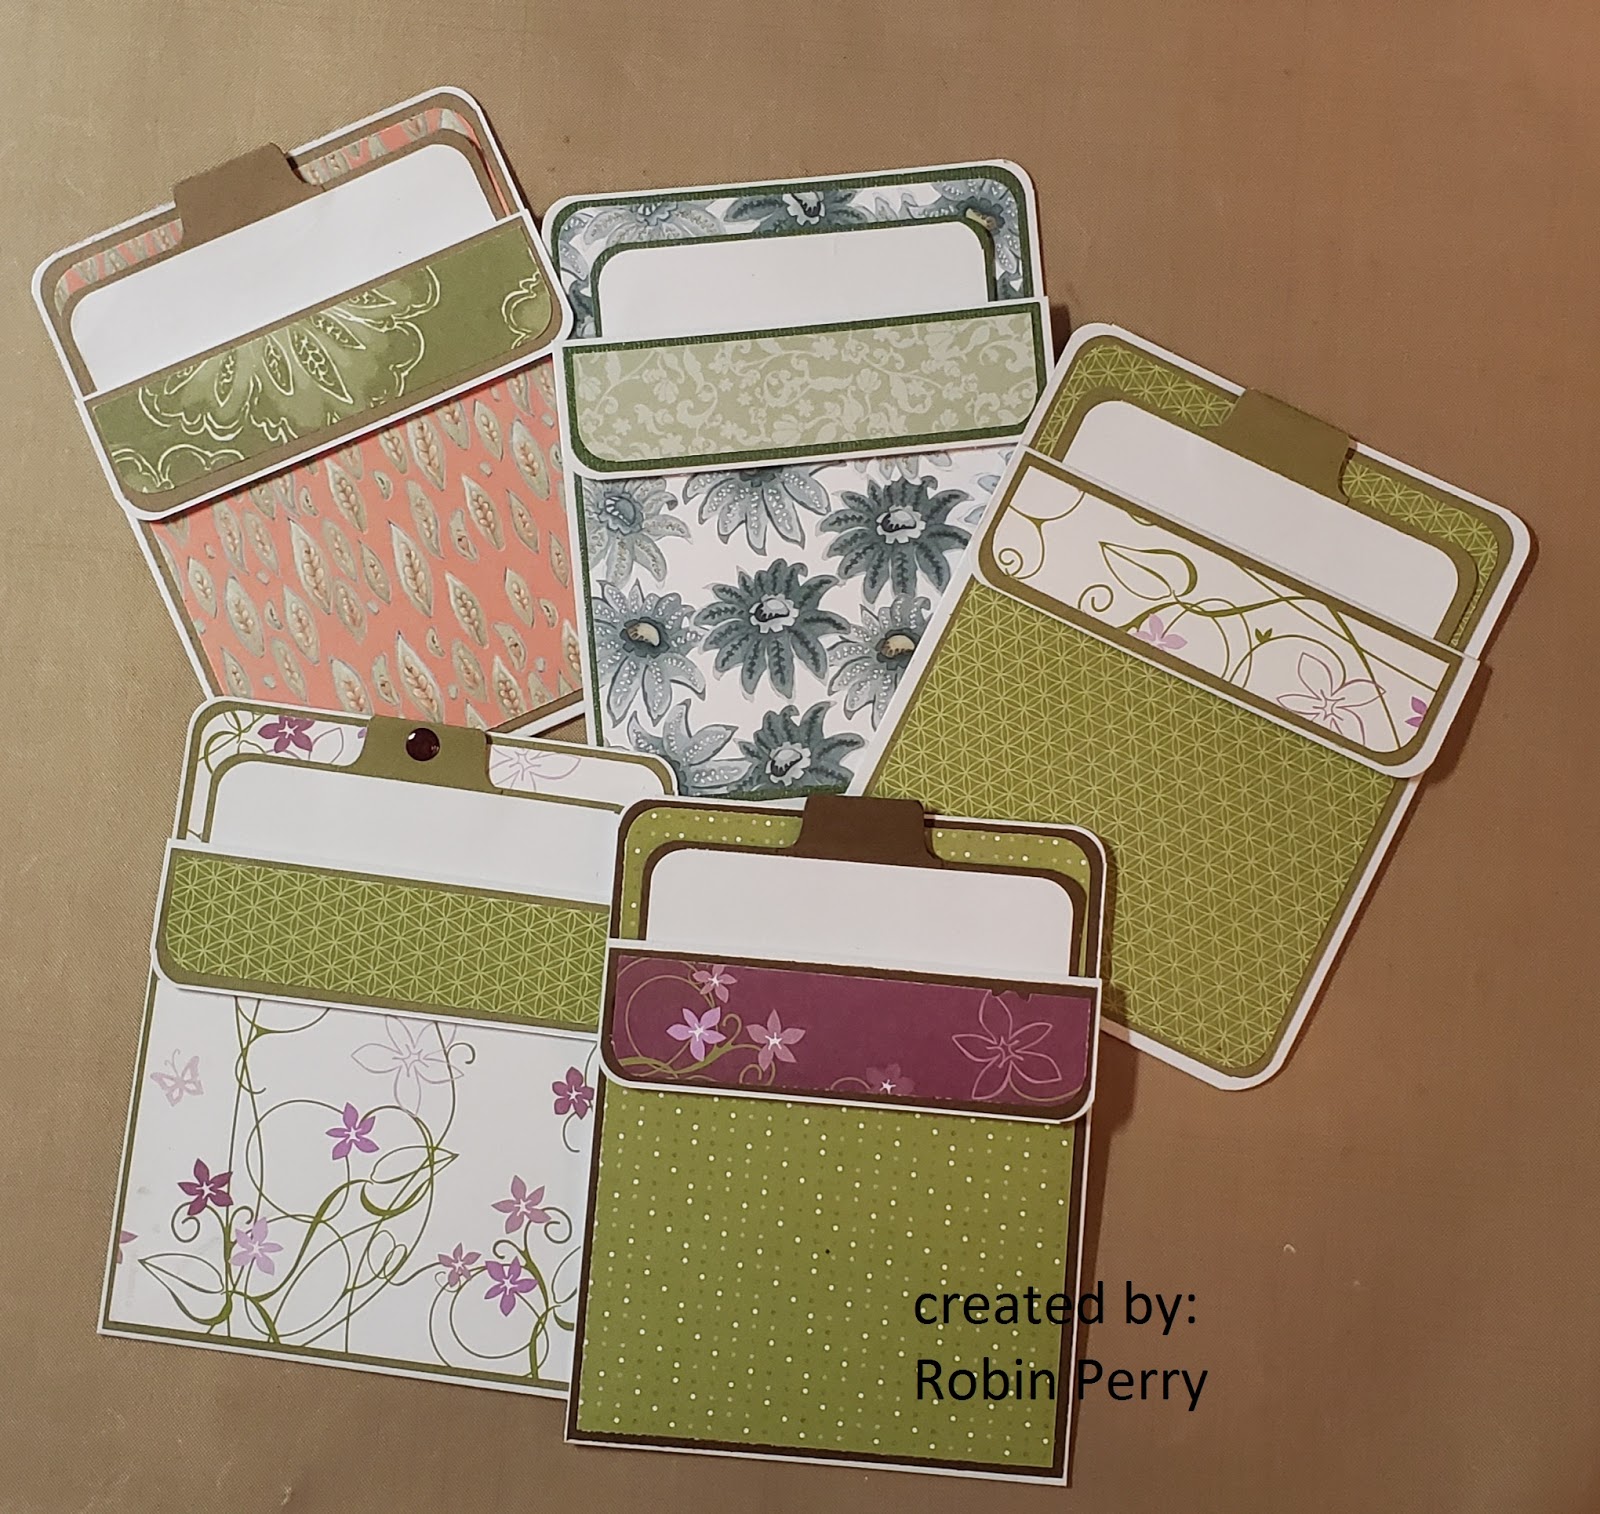
I was cleaning my studio and came across a note with rough information on creating a pocket card. Apparently this note was from 2008 because the first line on the paper was 2008 In Colors!  Well, as I was reading my note, I couldn’t visualize the end result, so I decided to try making one. 

Once I cut the paper to 4-1/2 x 11 and scored it at 1-1/4 & 
5-1/2, the light bulb over my head turned on!  It is a mountain fold at the 1-1/4 score line and a valley fold at the 5-1/2 score line & glued together along the sides.  That creates the pocket, which can then be decorated and stamped.  I made several and used up some scraps of old Stampin Up designer papers.  The size of the base layer of the insert is 3-3/4 x 5.

Here is a pic of most of the cards that I made. These cards are going into my stash – I’ll stamp an appropriate sentiment and decorate them more when I know who each card will be going to.


Then, I got to thinking about how to make a 5 x 7 pocket card.  I tried cutting a piece of cardstock to 7 x 10, but then realized that it could not be scored and folded to create the pocket.  So, I cut the cardstock  along the long side at 5 inches, & scored one of the pieces along the short side at 2 inches. I folded down the flap (mountain fold) and used 1/8” score tape (along the sides and bottom) to adhere it to the back panel.  

Here is a picture of the card that I will most likely be sending to my granddaughter later this year.  She is not a girly-girl, so no flowers!  I may add a bit of glitter to the balloons, though, because the card is just too plain for me!


This is the inside pocket. The sentiment is a wood mounted stamp that I have had for years & I have no idea what brand it is.  I used a Spellbinders gift tag die set to create the pocket on the left side; I'll slip in some money and a gift card for her.