Showing posts with label Birthday. Show all posts

Wednesday, August 11, 2021

My niece is turning 4!

 So, one of my nieces is turning 4 in a couple of weeks.  She is such a cutie-patootie!  She is a spitfire combination of "girly girl" who loves hair bows, horses, & mermaids and "tomboy" who romps around playing in the dirt with her brothers and dogs!


Here is the card that I made for her.


I followed a recent YouTube tutorial from Sam Calcott, Mixed Up Crafts, where she made several cards using up scraps. As soon as I saw Sam's Happy Birthday candles card, I knew I wanted to CASE it for my niece.  This was definitely a Clean and Simple (CAS) card that came together quickly. It took me longer to select the scraps than it did to actually complete the card!   It was so very satisfying to use up small pieces of patterned paper.

Most of the scraps are pattern papers from Fun Stampers Journey and a couple are from Stampin' Up!  I cut the scraps 1/2" wide by however long the scrap was.  I laid them out along the front until I was happy with the layout.  Before gluing them down, though, I stamped the sentiment with Ranger Archival black ink.  That way, I knew how much room I needed to leave in order to color in the candle flames. After gluing down the scraps, I cut off the paper that was hanging off the bottom of the card. It's not visible in the picture, but I colored over the flames and the sentiment with a clear glitter pen.

The finished size of this card is 5x7.


Wednesday, August 14, 2019

Blast From the Past – Pocket Cards!


I was cleaning my studio and came across a note with rough information on creating a pocket card. Apparently this note was from 2008 because the first line on the paper was 2008 In Colors!  Well, as I was reading my note, I couldn’t visualize the end result, so I decided to try making one. 

Once I cut the paper to 4-1/2 x 11 and scored it at 1-1/4 & 
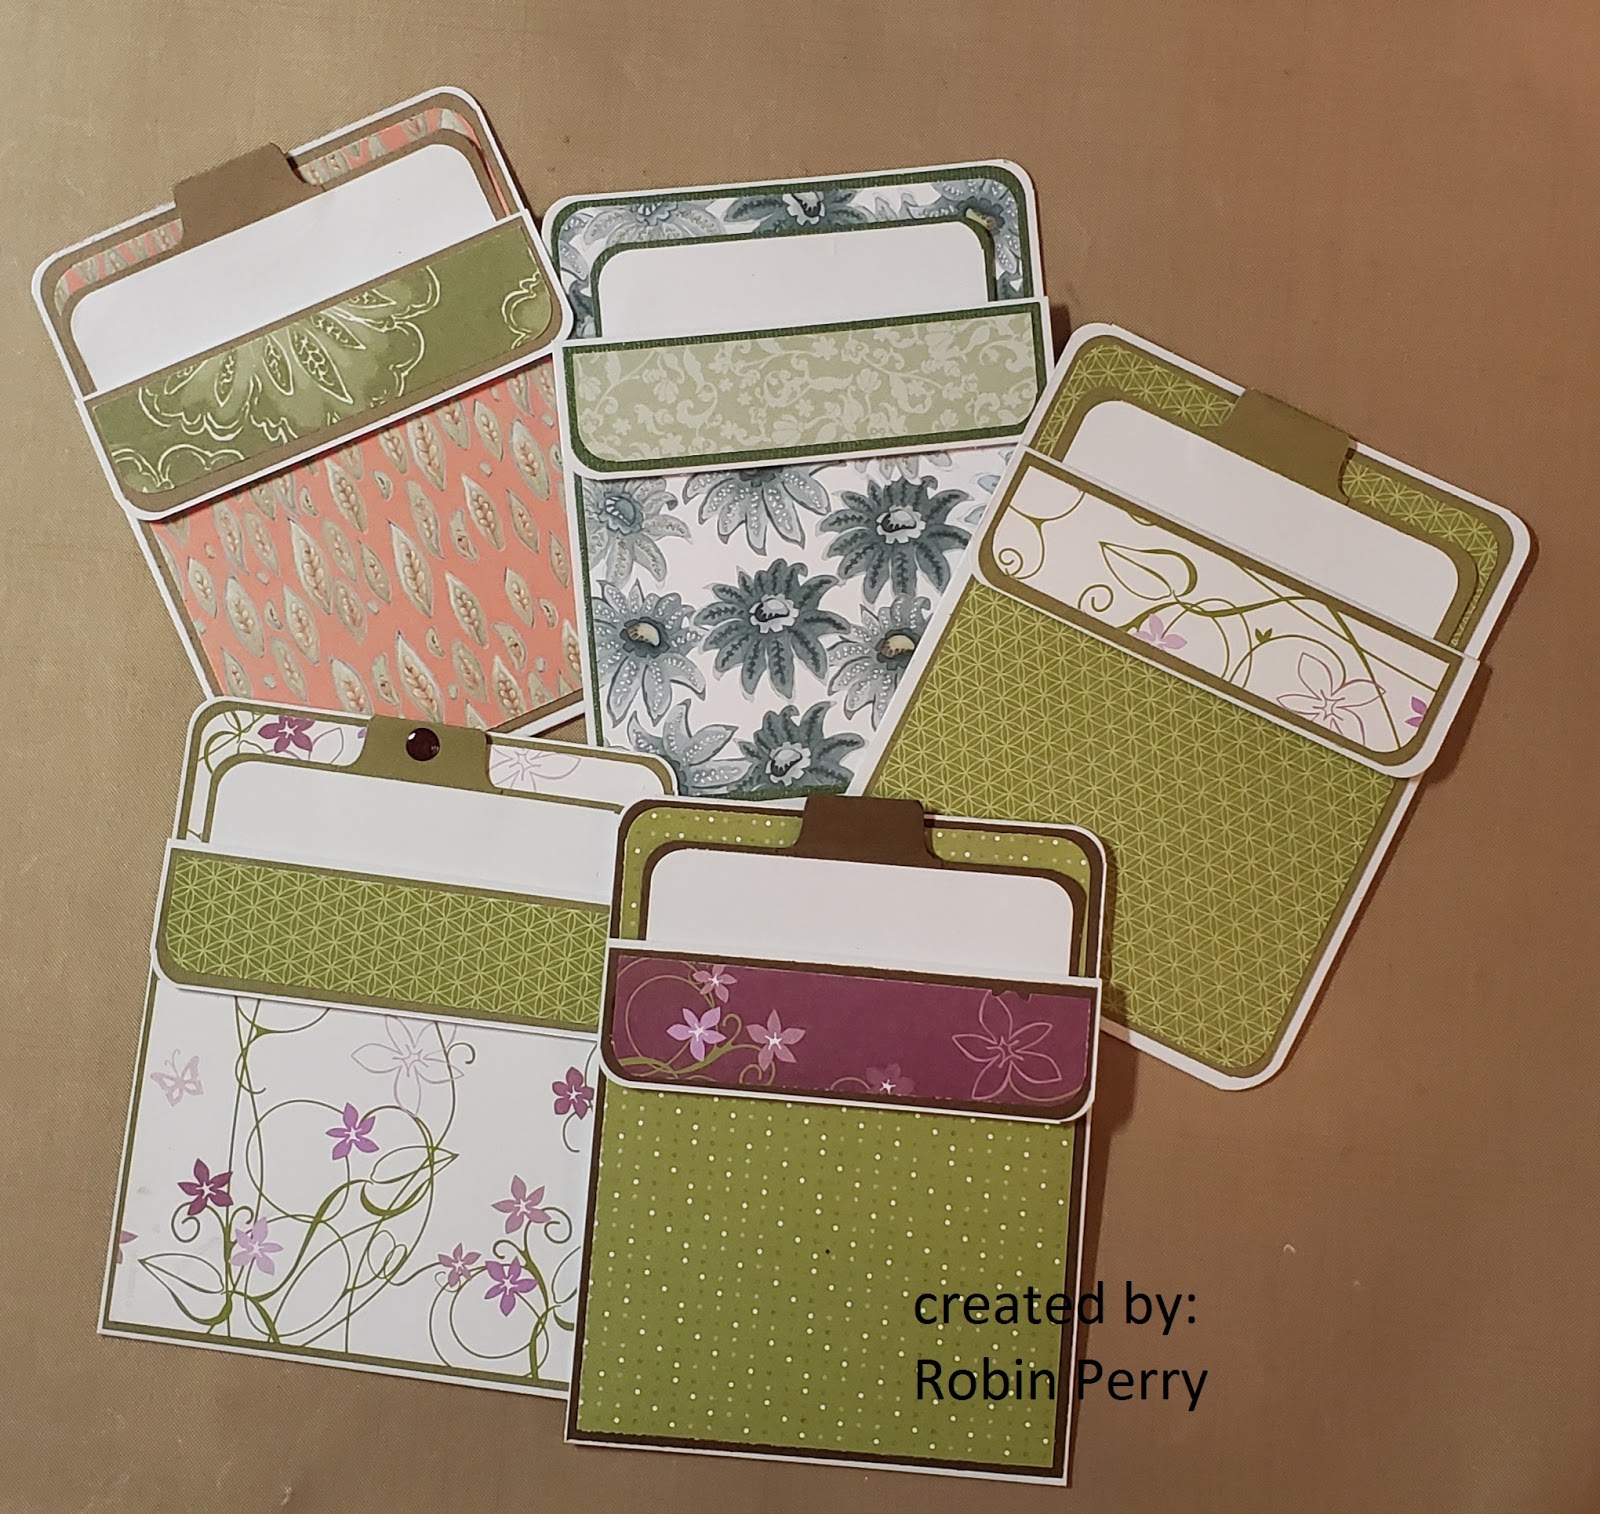
5-1/2, the light bulb over my head turned on!  It is a mountain fold at the 1-1/4 score line and a valley fold at the 5-1/2 score line & glued together along the sides.  That creates the pocket, which can then be decorated and stamped.  I made several and used up some scraps of old Stampin Up designer papers.  The size of the base layer of the insert is 3-3/4 x 5.

Here is a pic of most of the cards that I made. These cards are going into my stash – I’ll stamp an appropriate sentiment and decorate them more when I know who each card will be going to.


Then, I got to thinking about how to make a 5 x 7 pocket card.  I tried cutting a piece of cardstock to 7 x 10, but then realized that it could not be scored and folded to create the pocket.  So, I cut the cardstock  along the long side at 5 inches, & scored one of the pieces along the short side at 2 inches. I folded down the flap (mountain fold) and used 1/8” score tape (along the sides and bottom) to adhere it to the back panel.  

Here is a picture of the card that I will most likely be sending to my granddaughter later this year.  She is not a girly-girl, so no flowers!  I may add a bit of glitter to the balloons, though, because the card is just too plain for me!


This is the inside pocket. The sentiment is a wood mounted stamp that I have had for years & I have no idea what brand it is.  I used a Spellbinders gift tag die set to create the pocket on the left side; I'll slip in some money and a gift card for her.


Monday, June 10, 2019

Recessed Panel Card - Take Two!


I think I’m obsessed with these Recessed Panel cards!  They are so much fun to make … and relatively easy, too!  I like “easy,” don’t you?


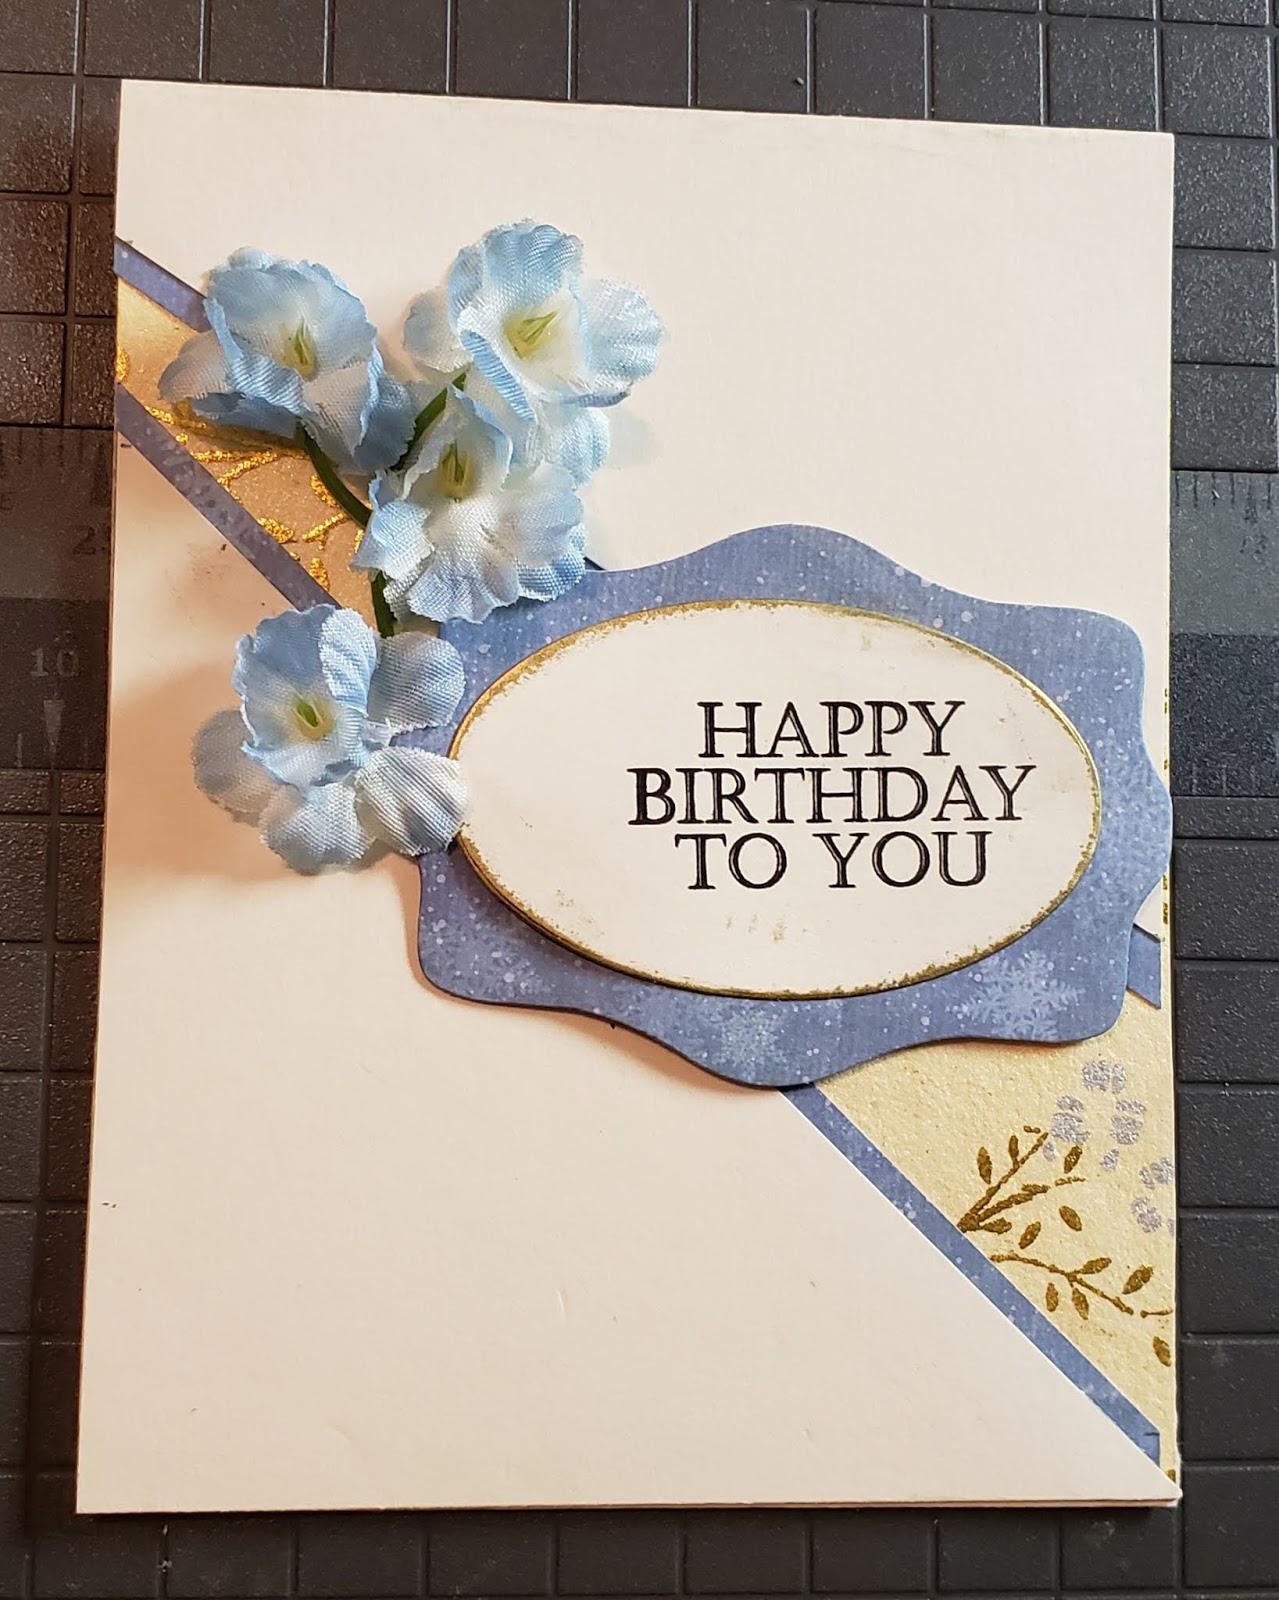
The center blue and cream panel was made using the cut out pieces from the card I posted on June 6th. I laid it across the designer paper panel and fiddled with it until I found the placement that I liked. After gluing it down, I trimmed the edges so that they were flush with the designer paper.  In retrospect, I should have waited to trim the edges until the designer paper was attached to the mat. I think the card would be more visually appealing. But! It is what it is, and I’m fine with that!

The flower trio is a Deep Red stamp and the leaves are from a die set, as is the center tag. The sentiment is from Just Rite stamps.  This card is a standard A2, so it measures 4-1/4” x 5-1/2”.

Thursday, June 6, 2019

Recessed Panel Card


I was browsing on Pinterest and came across video from France Martin ( FrenchieStamps)   
for a Recessed Panel Card.  So, of course! I had to make one!


Mine is really more of a sample card since the front is a bit plain for my taste, but I do like it and will most likely give it to someone if I need a card in a hurry.  I pulled things out of my stash of supplies as I was putting this card together and didn’t pay attention to brands or set names.  The silk flowers were a small bit that I nearly threw away when I was unpacking my supplies – I’m glad now that I didn’t.

Even though there is a bit of fussiness to this card due to the measurements you need to make, it is easy to put together. After you finish one, any more that you make will be a breeze to complete!

Friday, May 31, 2019

Pictures, as promised!

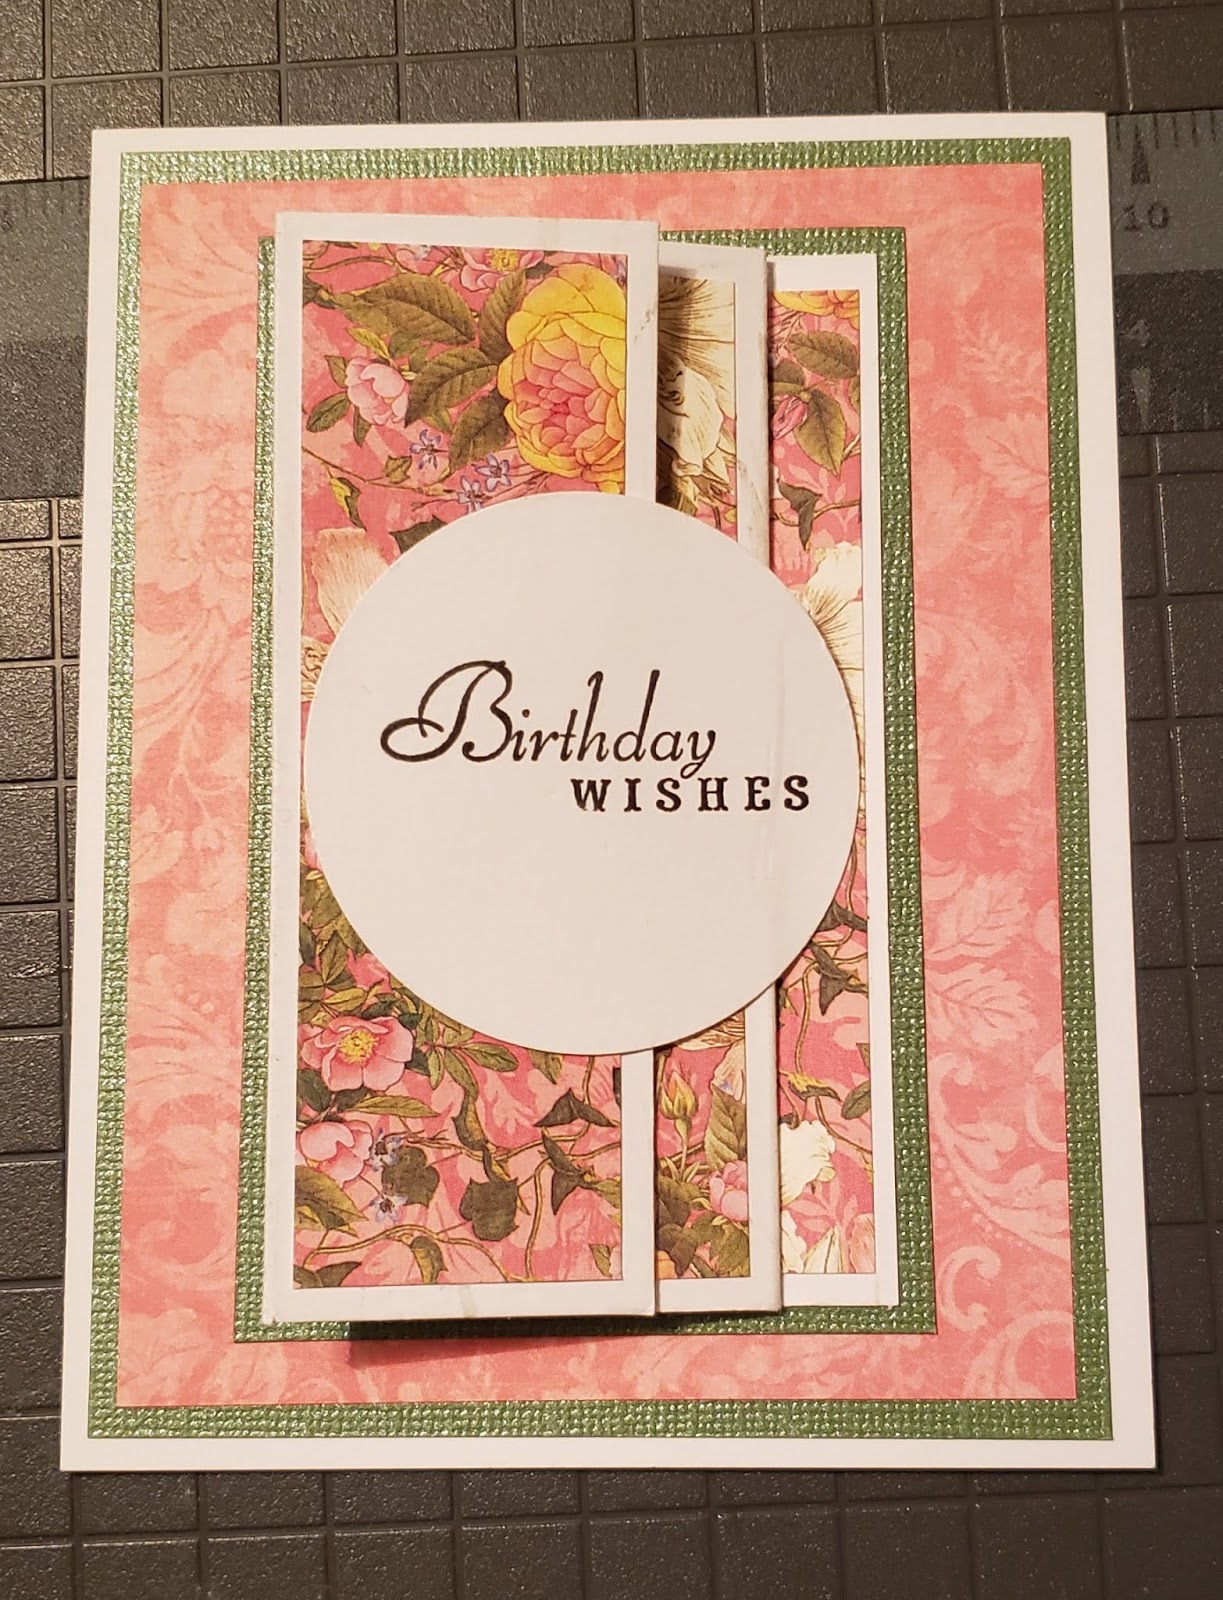
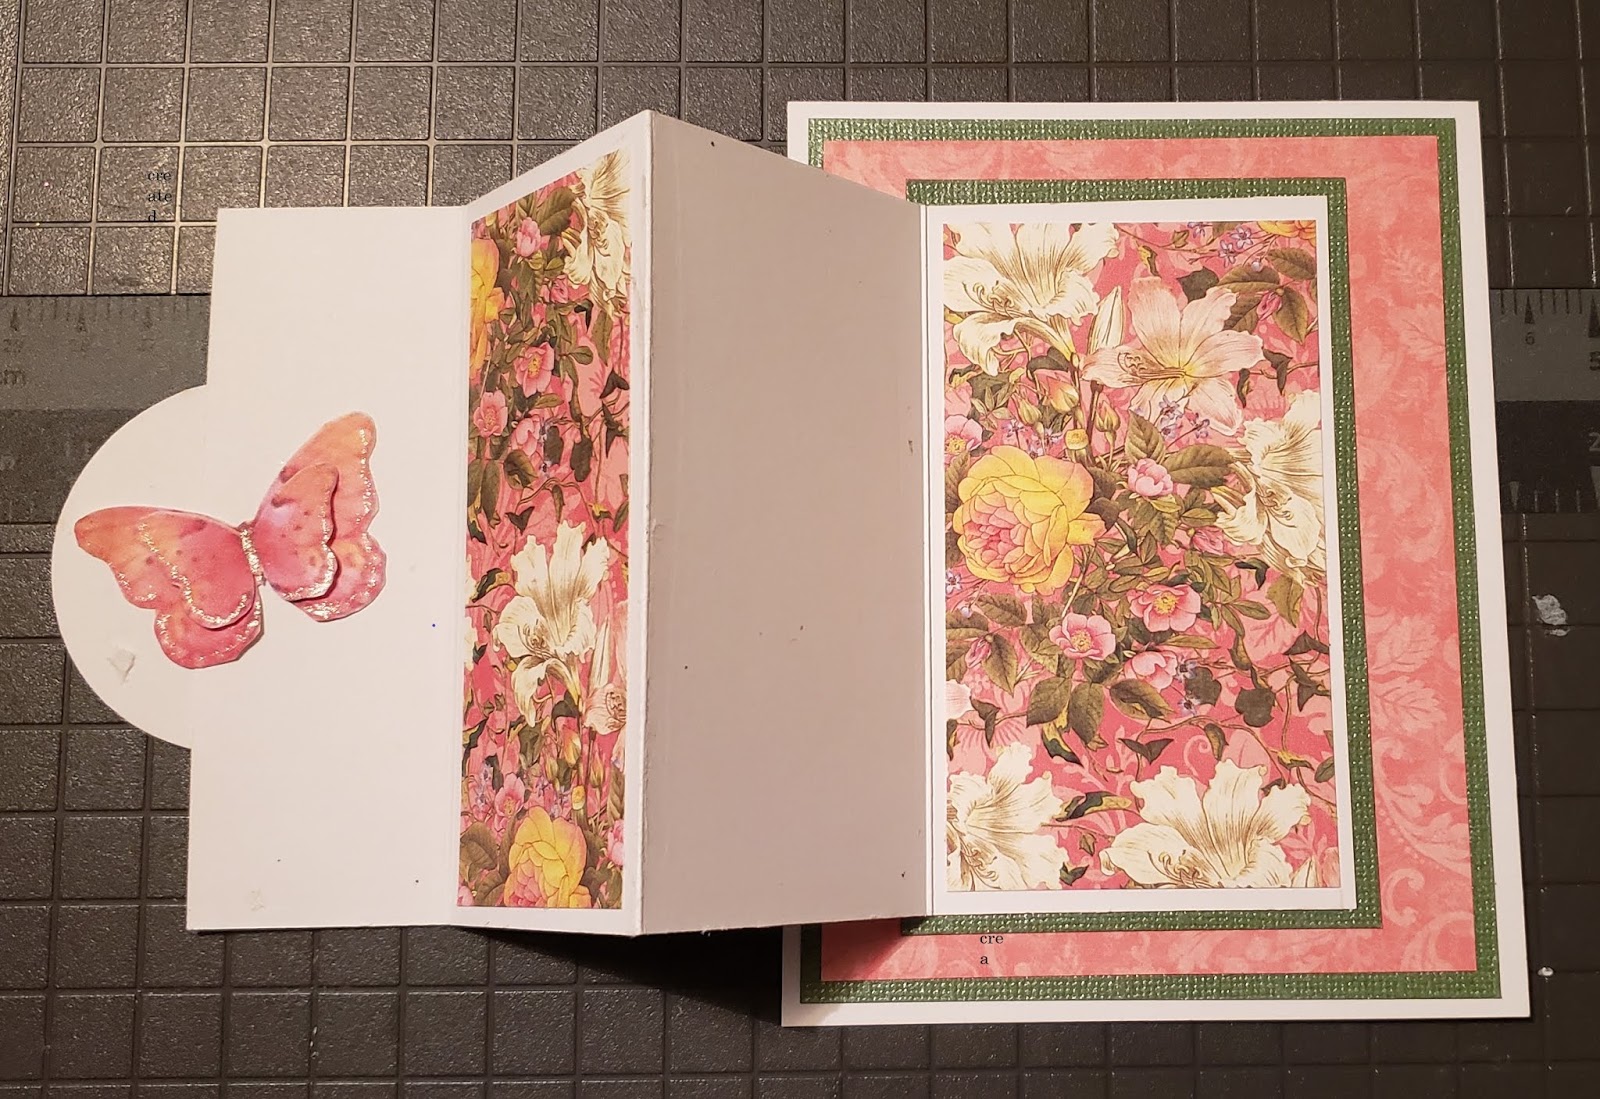
Here are a couple of pictures of one of the most recent cards I made. This a a Panel Pull Out Card and is very easy to make.  It definitely has that WOW! factor that cardmakers are looking for!


The designer paper is from Graphic 45. The white base is Neenah. The sentiment is a stamp that I have had quite a while but I don't remember the name of the set it was in.

The one thing I learned from making this card was to use a lighter weight cardstock for the scored panel. A lighter weight cardstock will stay closed much better than the heavy weight card.

Friday, January 29, 2016

My Brother's Birthday Card

My brother's birthday was this past week. When I talked to him on his actual birthday, he hadn't received his card yet due to the blizzard that hit the northeast over the weekend. Hopefully he has gotten it by now!   But he doesn't read my blog (he probably doesn't know that I have one!), so I am not worried that he will see it here before he gets it in the mail.


I enjoyed making this card. I wanted to make a scenic card built around the focal image stamp.   The trees in the background were stamped and drawn with various stamps.  The sentiment is an Elizabeth Craft Quietfire die.