No card to share today ... I've been making a few cards here and there, but have actually been spending more time organizing my studio. I am still working on the "Jennifer McGuire" style of storing my dies and stamps. It has been slow going ,,, but as we know, "slow and steady wins the race!"
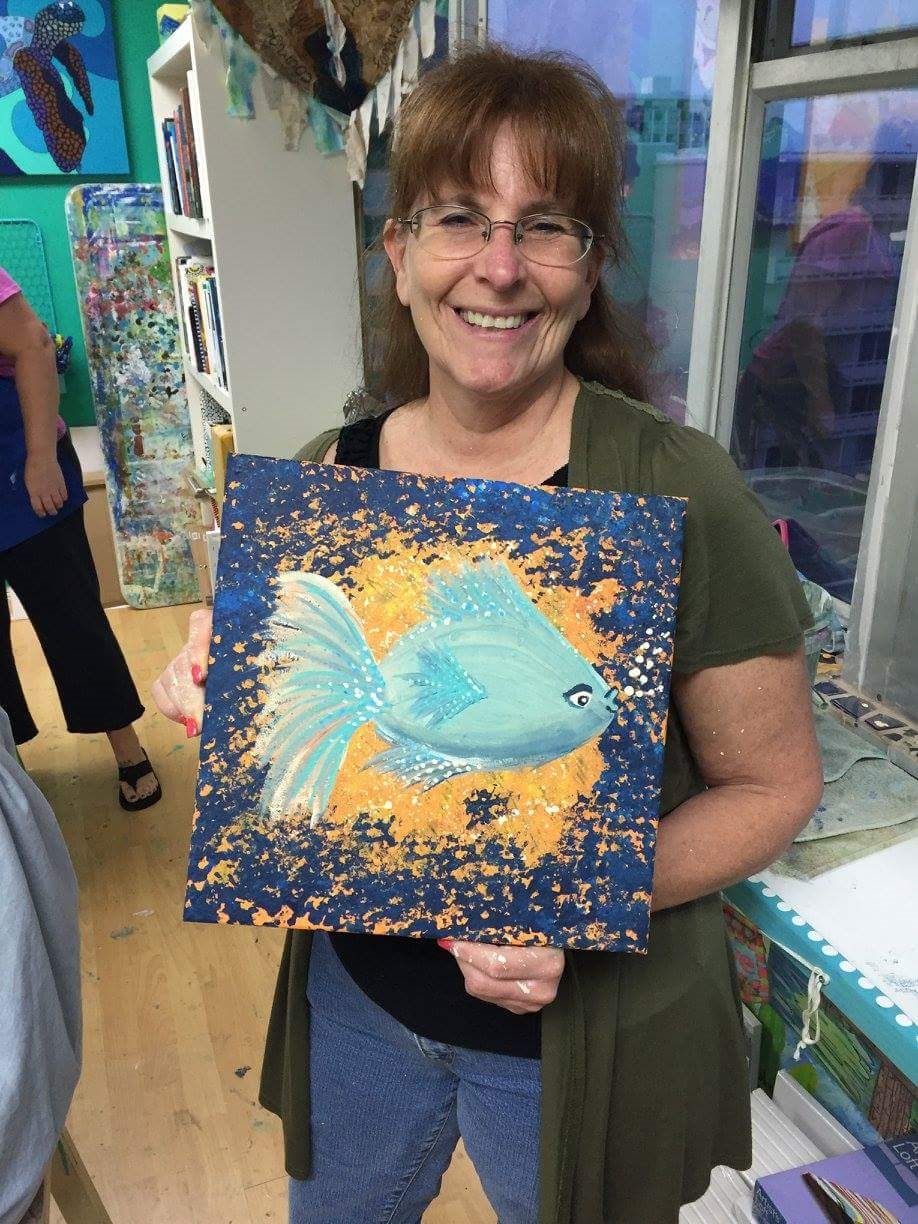
I went to Bali Studios in Cocoa Beach last night and painted this Freckle Fish! Oh my, it was fun! I forgot to put on an apron, so I got paint on my black top, but such is life. If you look close, you can see the paint splatters on my arm! lol
This painting is very easy and I will probably paint a few more at home. It is three layers of sponged-on paint (two of the orange/yellow background and one of the dark blue around the edges). Then, paint is splattered on top of that. Next is the fish -- no stencil for that!
Do you remember from your Kindergarten days how to draw a fish? Where you draw the curved shape & add a triangle along the side? Well, that's how you draw the fish, only using paint and a paintbrush. Then fill it in with a base coat of white (I used creamy white). While the base coat is still wet, blend in several colors of blue & one of a brown. Use the darker colors ar the bottom.. Paint in the eye, dot it up (freckles!), dry the piece, and you're done!
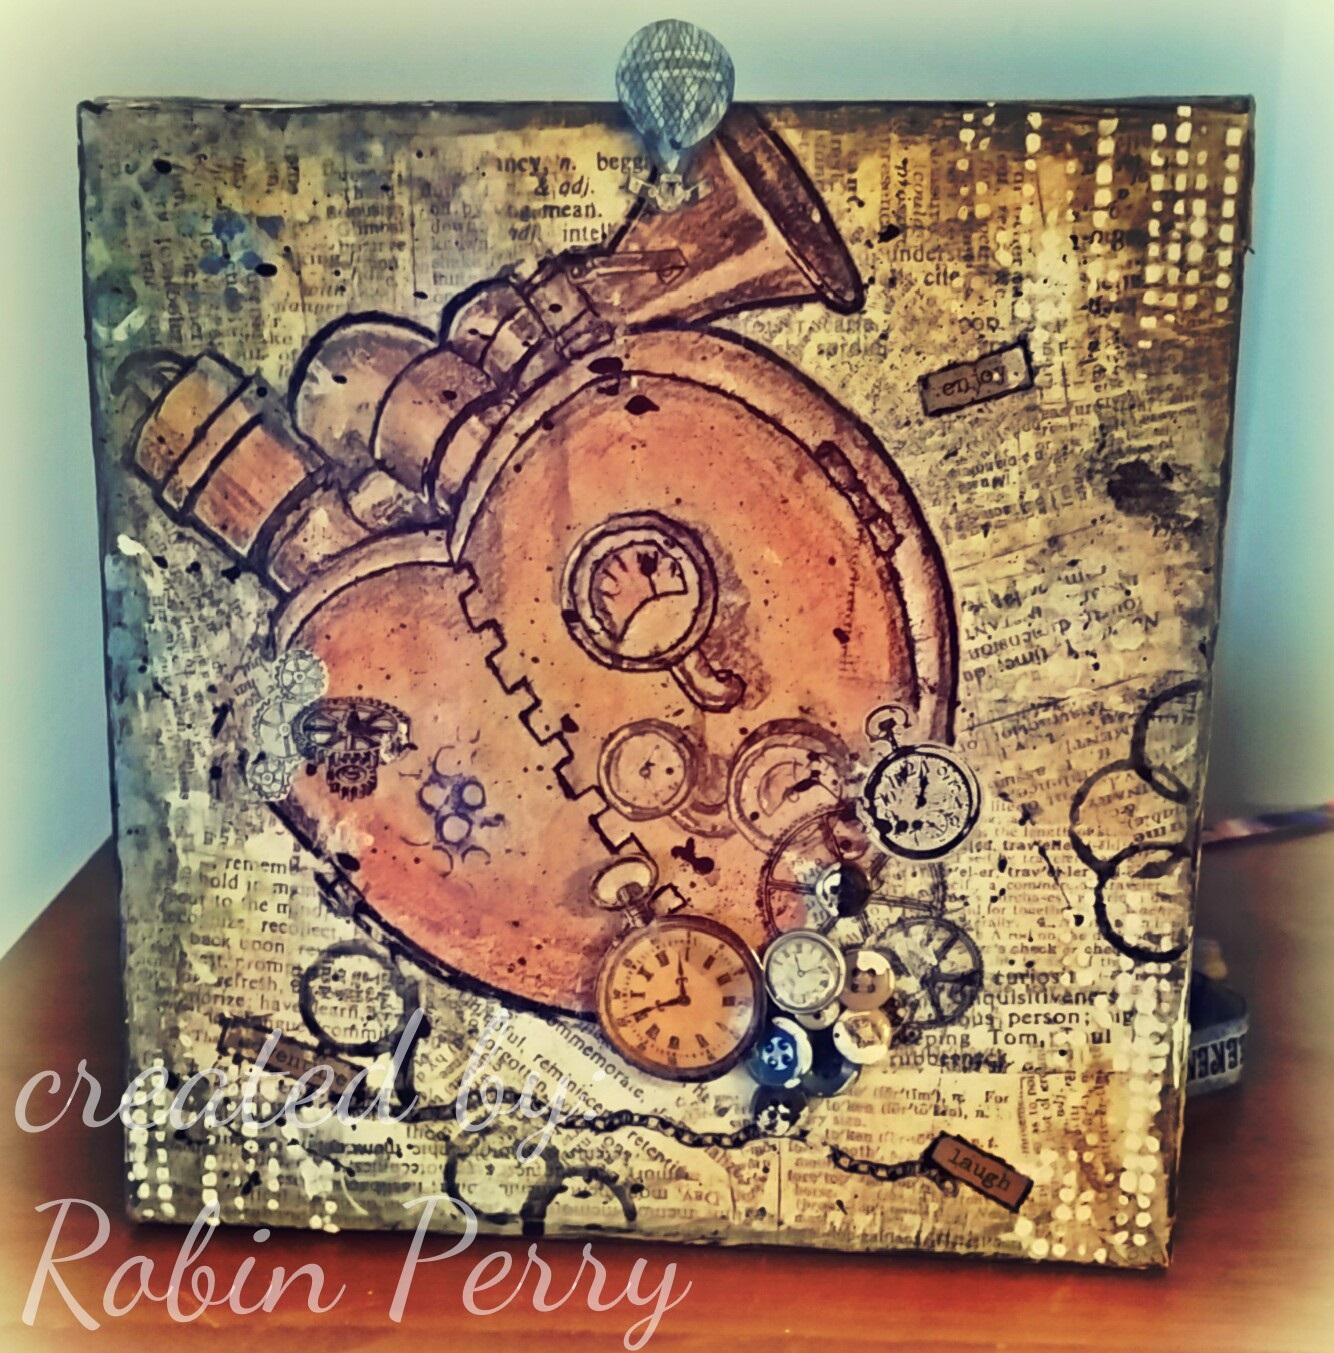
This is the Valentine's Day gift that I made for my Sweetheart. He loved it!
I started the canvas at a mixed media class that I took at Bali Studios in Cocoa Beach, FL. The owner, Sheri Stewart, is awesome! She is an excellent artist, teacher, and friend! If you have the opportunity to attend any of her classes, you should go! You will leave with a wonderful piece of art that you created. Sheri can be found on Facebook at Bali Studios.
Anyway! I printed out a free steampunk image (found here) and took it with me to the class. I also took a few other odds & ends that I found in my art studio that I thought might work. The base of the canvas is torn scrapbook papers that are glued down with mod podge. I cut out the steampunk image & glued it down on top of the scrapbook papers. I used the other "odds & ends" to decorate the canvas, then outlined the image with a black sharpie to give it more definition.
The pocket watch images were cut from scrapbook paper; the image on the left was covered with Glossy Accents from Stampin Up & glued on when it was dry. The cogs and chain at the bottom came from a sheet of rub-ons that I picked up at Tuesday Morning. The white dots were made by applying modeling past through a stencil.
This was a fun piece to make!
Today's offering is a mixed media CAS card that was super fun to make!
I stamped the background first, using pink ink, then stamped the tulips onto the background with black ink. No need to maks the images at this point.
I stamped the tulips again on yellow, red, and green cardstocks, did a little shading with coordinating markers, then paper-pieced them onto the background.
After stamping the sentiment, I went over it with a clear glitter pen. This qualifies this card for this week's CASology challenge to use glitter.