Showing posts with label Valentine'sDay. Show all posts

Tuesday, April 19, 2016

I'm Just a Wee Bit Late With This Post!


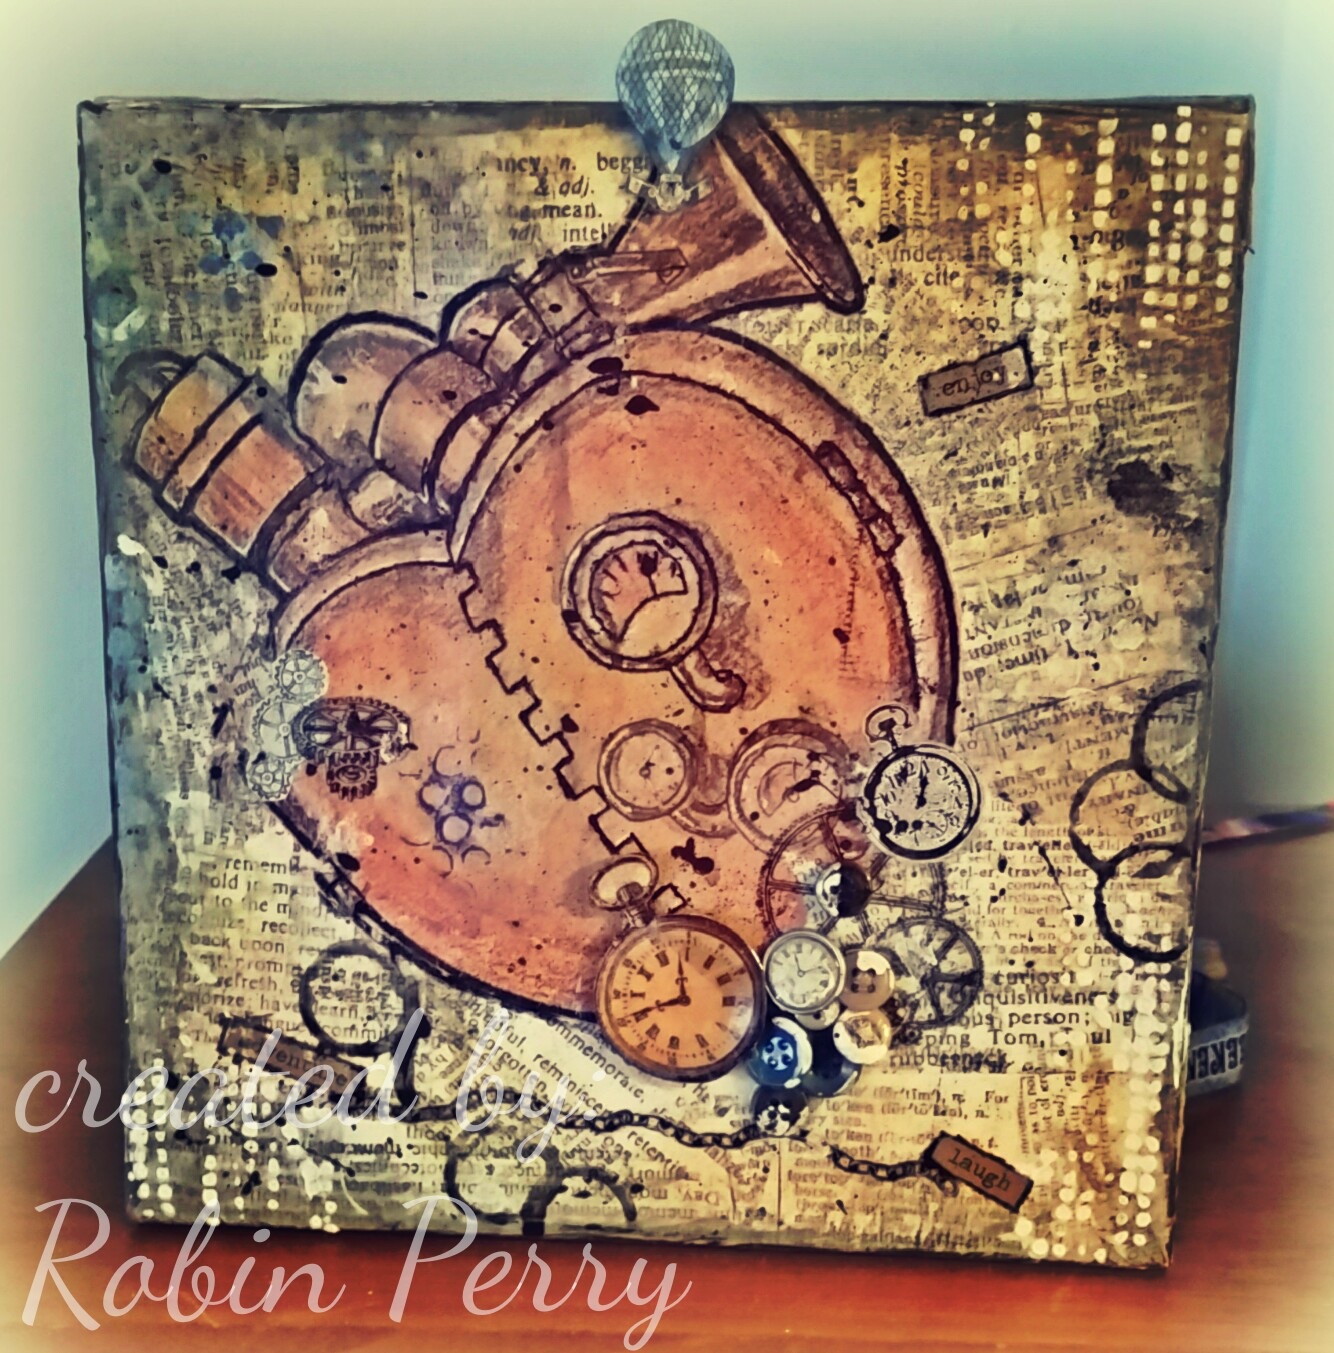
This is the Valentine's Day gift that I made for my Sweetheart.  He loved it!

I started the canvas at a mixed media class that I took at Bali Studios in Cocoa Beach, FL.  The owner, Sheri Stewart, is awesome!  She is an excellent artist, teacher, and friend!  If you have the opportunity to attend any of her classes, you should go! You will leave with a wonderful piece of art that you created.   Sheri can be found on Facebook at Bali Studios.

Anyway!   I printed  out  a free steampunk image (found here) and took it with me to the class. I also took a few other odds & ends that I found in my art studio that I thought might work.  The base of the canvas is torn scrapbook papers that are glued down with mod podge.  I cut out the steampunk image & glued it down on top of the scrapbook papers. I used the other "odds & ends" to decorate the canvas, then outlined the image with a black sharpie to give it more definition.

The pocket watch images were cut from scrapbook paper; the image on the left was covered with Glossy Accents from Stampin Up & glued on when it was dry. The cogs and chain at the bottom came from a sheet of rub-ons that I picked up at Tuesday Morning. The white dots were made by applying modeling past through a stencil.

This was a fun piece to make!

Tuesday, February 16, 2016

Valentine's Day Card


This is the card that I made for my Sweetie.  I can finally post it on my blog now that Valentine’s Day is over!  He doesn’t read my blog, but I was afraid that if I posted the card early, that would be the one time that he did …. and then the surprise would be ruined.

Without further ado, here are the deets about this card.

The image panel (Fun Stamper’s Journey Oatmeal Cookie cardstock) is cut to 4-3/4” x 6-3/4” then stamped with Stampin’ Up! Gorgeous Grunge using brown, red, and gray inks to create the background.  The hearts were punched with three different sized punches from Stampin’ Up Cherry Cobbler, Fun Stampers Journey Oatmeal Cookie & Black Licorice cardstocks, and an unknown patterned designer paper. I also used a Sizzix embosslit for the smaller embossed hearts.  The banner was stamped with a Sizzix stamp then cut out with the matching die and the sentiment is from Stampin’ Up’s Teeny Tiny Wishes set.  The sentiment is actually straight, so I snipped the edges of the rubber & shaped it into an arch when I put it on the acrylic block.

I used ink to distress the edges of the hearts and used Fun Stamper’s Journey's  Journey Glaze on top of the smallest hearts to make them look like glass. The twine is from a roll that I picked up at a thrift shop several months ago, so I have no idea what the brand is!

After the main image panel was complete and the glaze was dry, I layered it on top of Fun Stamper’s Journey River Stone cardstock that was cut to 4-7/8” x 6-7/8”.  This panel was then glued onto a 5” x 7” card base using Fun Stamper’s Journey Whipped Cream cardstock.