Showing posts with label Spellbinders. Show all posts

Thursday, October 10, 2019

Not a Card I Wanted to make This Week


This is so not the kind of card I wanted to make this week.

Unfortunately, we had an unexpected death in our family earlier this week. And, of course, I didn’t have an appropriate sympathy card in my stash ready to go. Pinterest to the rescue for inspiration!

Here is the card that I made:


I inked one side of a Spellbinders double-sided embossing folder before laying down the designer paper & running it through my embossing machine to create the background texture.  The designer paper is retired and is from Stampin Up.  The sentiment was stamped with Stampin’ Up’s Basic Gray ink on a scrap of white cardstock, then run through my die cutter to cut out the shape.  

I laid a piece of lace across the front, then glued the sentiment on top. I layered the card front onto a slightly larger piece of designer paper  (the flip side of the green), then glued that onto my white 5”x 7” card base.

IMPORTANT - please read!
If you are struggling with thoughts of suicide, PLEASE!!!  Get help or reach out to someone, anyone! If you have no one to whom you can talk or confide in, please call the Suicide Prevention Line at 1-800-273-8255!  Suicide is never the answer. 

Wednesday, August 14, 2019

Blast From the Past – Pocket Cards!


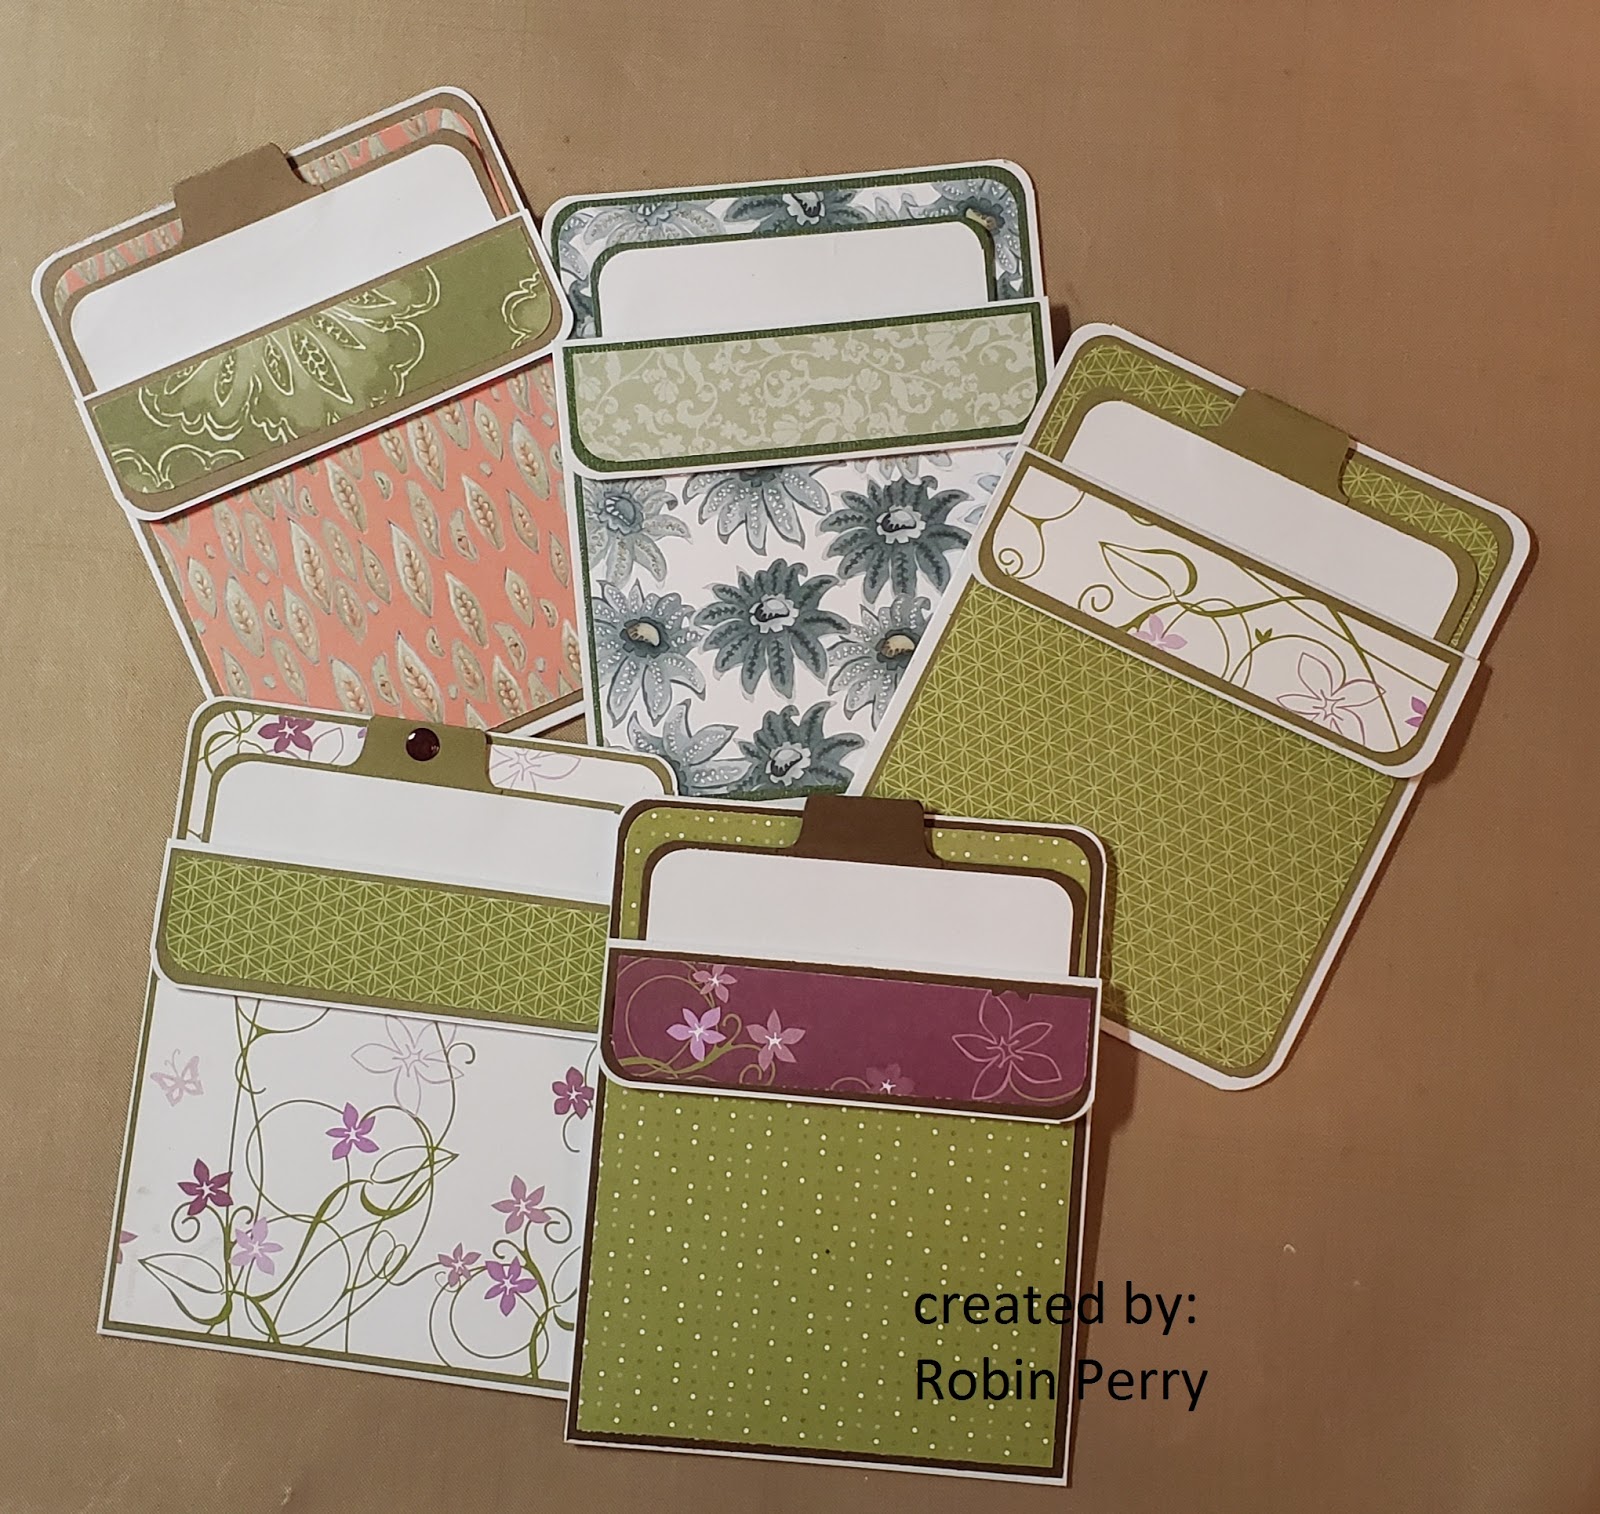
I was cleaning my studio and came across a note with rough information on creating a pocket card. Apparently this note was from 2008 because the first line on the paper was 2008 In Colors!  Well, as I was reading my note, I couldn’t visualize the end result, so I decided to try making one. 

Once I cut the paper to 4-1/2 x 11 and scored it at 1-1/4 & 
5-1/2, the light bulb over my head turned on!  It is a mountain fold at the 1-1/4 score line and a valley fold at the 5-1/2 score line & glued together along the sides.  That creates the pocket, which can then be decorated and stamped.  I made several and used up some scraps of old Stampin Up designer papers.  The size of the base layer of the insert is 3-3/4 x 5.

Here is a pic of most of the cards that I made. These cards are going into my stash – I’ll stamp an appropriate sentiment and decorate them more when I know who each card will be going to.


Then, I got to thinking about how to make a 5 x 7 pocket card.  I tried cutting a piece of cardstock to 7 x 10, but then realized that it could not be scored and folded to create the pocket.  So, I cut the cardstock  along the long side at 5 inches, & scored one of the pieces along the short side at 2 inches. I folded down the flap (mountain fold) and used 1/8” score tape (along the sides and bottom) to adhere it to the back panel.  

Here is a picture of the card that I will most likely be sending to my granddaughter later this year.  She is not a girly-girl, so no flowers!  I may add a bit of glitter to the balloons, though, because the card is just too plain for me!


This is the inside pocket. The sentiment is a wood mounted stamp that I have had for years & I have no idea what brand it is.  I used a Spellbinders gift tag die set to create the pocket on the left side; I'll slip in some money and a gift card for her.