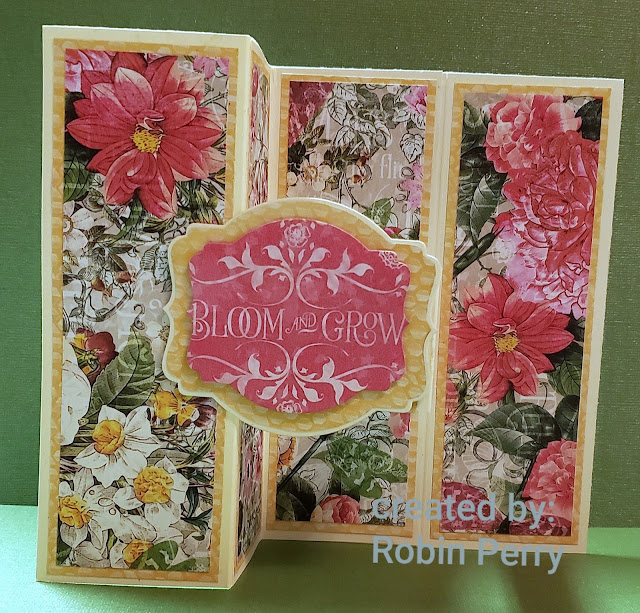
Instead of a Christmas card, I decided to use designer paper
from Graphic 45’s Flutter collection. I
followed the instructions from Mixed Up Crafts for cutting & scoring the
card base as well as cutting the larger panels.
But I didn’t like the open space left after making the slits horizontally across
the two center sections.
I cut a panel to fit underneath the slits, then scored it in
half lengthwise. Since that panel was nearly the same size as the card base, I
cut an additional set of the larger panels from the designer paper. I did not
cut the smaller sections that the tutorial from Mixed Up crafts called for since they weren't necessary. I
also added a panel on the back side of the card to hide the seams and to give
the card more stability.
I used a layering die set from Stampin’ Up to cut the accent
piece on the front of the card. I only had two different sized dies and thought
there was too much space between the two layers, so I cut another piece of designer paper with the
larger die. I left it inside the die, then traced around the inner edge with a
pencil. After that, I carefully trimmed away along the pencil line to make a slightly
smaller die cut shape.
There is no stamping on this card as of now. When I decide who is getting it & for
what occasion, I’ll stamp a sentiment on the back panel.


No comments:
Post a Comment