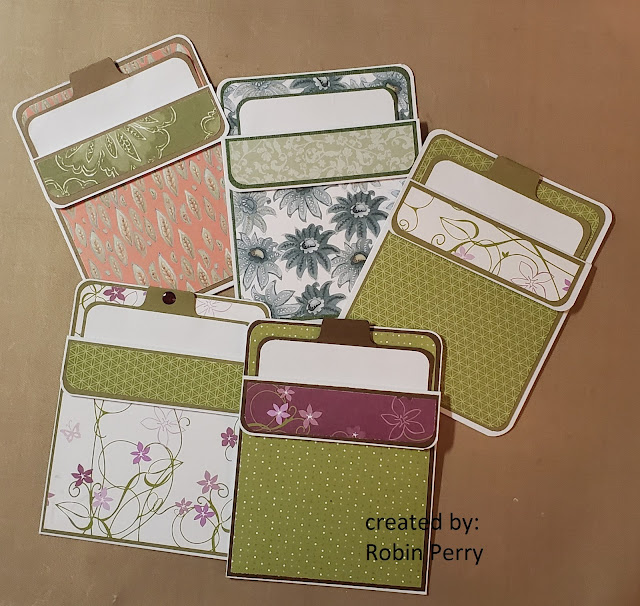
I was cleaning my studio and came across a note with rough
information on creating a pocket card. Apparently this note was from 2008
because the first line on the paper was 2008 In Colors! Well, as I was reading my note, I couldn’t
visualize the end result, so I decided to try making one.
Once I cut the paper to 4-1/2 x 11 and scored it at 1-1/4
&
5-1/2, the light bulb over my head turned on! It is a mountain fold at the 1-1/4 score line and a valley fold at the 5-1/2
score line & glued together along the sides. That creates the pocket,
which can then be decorated and stamped.
I made several and used up some scraps of old Stampin Up designer
papers. The size of the base layer of the insert is 3-3/4 x 5.
Here is a pic of most of the cards that I made. These cards
are going into my stash – I’ll stamp an appropriate sentiment and decorate them
more when I know who each card will be going to.
Then, I got to thinking about how to make a 5 x 7 pocket
card. I tried cutting a piece of
cardstock to 7 x 10, but then realized that it could not be scored and folded
to create the pocket. So, I cut the
cardstock along the long side at 5
inches, & scored one of the pieces along the short side at 2 inches. I
folded down the flap (mountain fold) and used 1/8” score tape (along the sides
and bottom) to adhere it to the back panel.
Here is a picture of the card that I will most likely be sending to my
granddaughter later this year. She is not a girly-girl, so no flowers! I may add a bit of glitter to the balloons, though, because the card is just too plain for me!
This is the inside pocket. The sentiment is a wood mounted stamp that I have had for years & I have no idea what brand it is. I used a Spellbinders gift tag die set to create the pocket on the left side; I'll slip in some money and a gift card for her.


